Small Business POS Setup Guide: Step-by-Step
Small Business POS Setup Guide: Step-by-Step
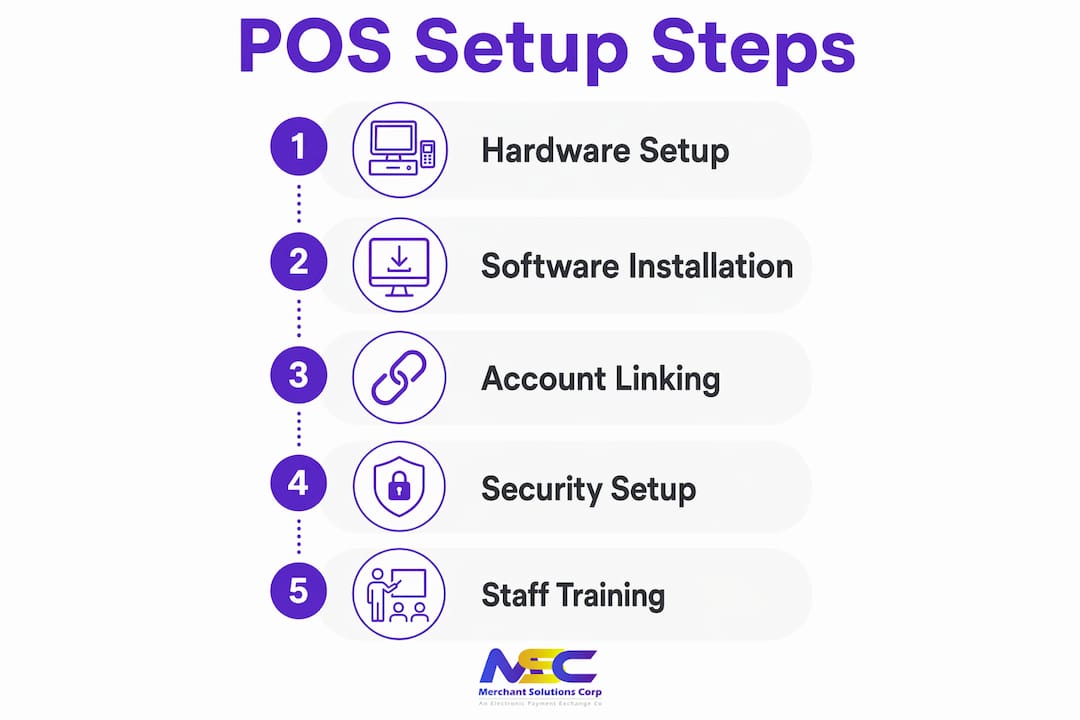
A point-of-sale (POS) system is defined as the combination of hardware and software that processes customer transactions, tracks inventory, and records sales data in real time. Every small business owner who wants accurate transaction management and faster checkout needs a properly configured POS system, not just a cash register. This small business POS setup guide walks you through every phase of implementation, from choosing your hardware to training your staff, so you can go live with confidence. Merchantsolutionscorp works with restaurants, retailers, and service businesses across the US and Canada to deliver fully configured systems with $0 upfront hardware options and hands-on onboarding support.
What are the essential hardware and software requirements for a small business POS setup?
The right hardware and software form the foundation of any reliable POS system for small businesses. Getting this wrong at the start creates compatibility headaches and unexpected costs later.
Core hardware components
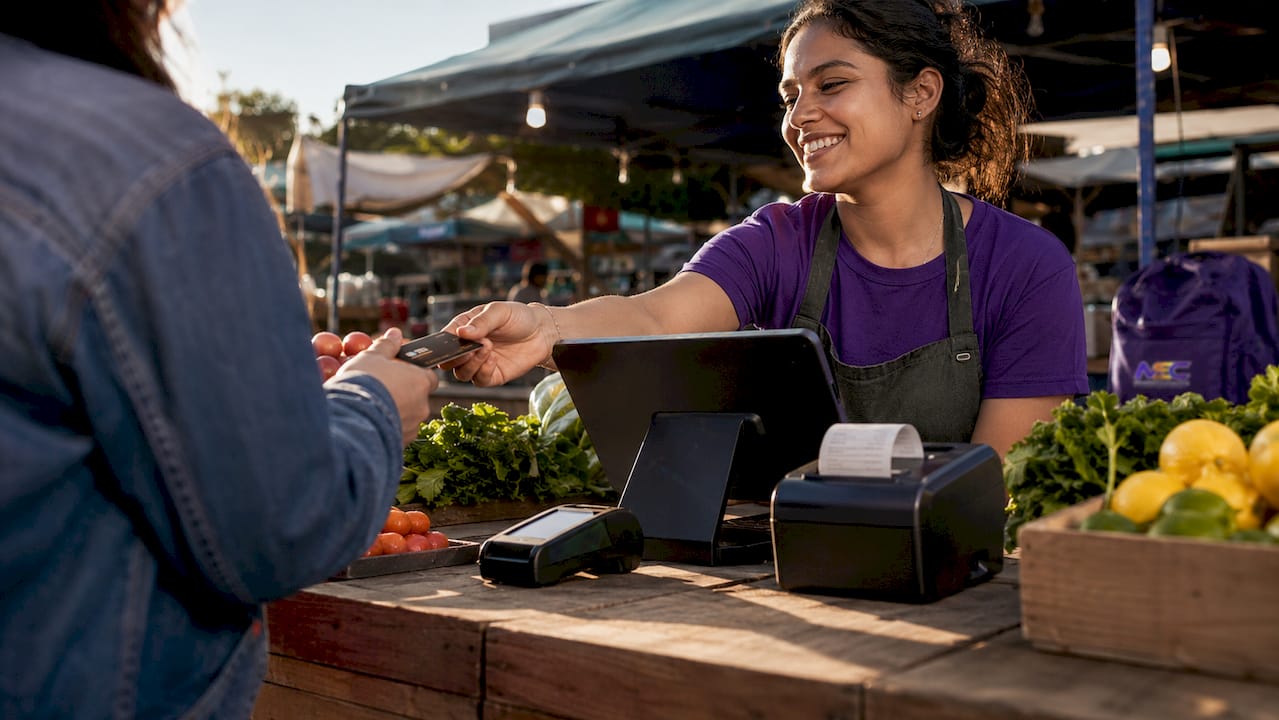
Every counter-based setup needs four physical components: a terminal or tablet, a card reader, a receipt printer, and a cash drawer. Mobile setups replace the fixed terminal with a smartphone or tablet paired with a Bluetooth card reader, which works well for food trucks, pop-ups, and service businesses. A reliable wired Ethernet connection combined with secure Wi-Fi and a backup router reduces transaction failures during peak hours. Network stability directly determines whether your checkout line moves or stalls.
Software requirements and compatibility
Cloud-based POS software is the standard choice for small businesses because it stores data off-site, updates automatically, and lets you monitor sales from any device. You need a software license, a merchant account, and confirmed compatibility between your software and your hardware peripherals before setup begins. If you already own a receipt printer or cash drawer, verify that the software supports those models before purchasing a subscription. Skipping this check is one of the most common and avoidable mistakes in a step-by-step POS setup.
Hardware and software needs by business size
| Business type | Terminal | Card reader | Receipt printer | Software tier |
|---|---|---|---|---|
| Solo operator / mobile | Tablet or phone | Bluetooth mobile reader | Optional (email receipts) | Entry-level cloud plan |
| Single-location retail | Countertop terminal | Chip, swipe, and NFC reader | Thermal receipt printer | Mid-tier with inventory |
| Multi-location retail | Fixed terminals per lane | Multi-reader setup | Network-connected printers | Enterprise or multi-site plan |
| Restaurant / food service | Terminal plus kitchen display | Chip and NFC reader | Kitchen ticket printer | Industry-specific plan |
Pro Tip: Before buying any hardware, confirm that your internet service provider can deliver consistent upload and download speeds at your location. A minimum of 10 Mbps dedicated to your POS network prevents most connectivity-related transaction failures.
How to configure your POS system: step-by-step software setup and customization
Software configuration is where most small business owners lose time. A methodical approach prevents errors that are expensive to fix after you go live.
-
Create your account and log in. Set up your merchant account through your payment processor and link it to your POS software. Use a business email address, not a personal one, so access stays with the business if staff changes.
-
Enter your business details. Input your legal business name, tax ID, store address, and applicable tax rates. Tax configuration errors cause reconciliation problems that compound over months, so verify every rate against your state and local requirements before moving forward.
-
Build your product catalog. Add every item you sell with accurate names, SKUs, prices, and categories. Clean your product data before importing it, because errors in your catalog create long-term reporting problems that are difficult to trace back to their source.
-
Configure payment options. Enable every payment method you plan to accept: credit cards, debit cards, contactless payments via NFC, digital wallets, and gift cards. Confirm that each method is active in your merchant account settings, not just in the POS software interface.
-
Set receipt preferences. Choose between printed receipts, emailed receipts, or both. Configure your receipt header and footer with your business name, return policy, and contact information. Customers notice receipt quality, and it reflects directly on your brand.
-
Assign employee roles and permissions. Create individual logins for every team member. Individual employee logins improve accountability, accurate tip tracking, and security. Shared accounts create operational risks and reduce sales attribution accuracy, which makes performance reporting unreliable.
-
Run a sandbox test. Use your POS system’s test or demo mode to simulate a full sales cycle before touching real transactions. Test every discount type, tax scenario, and refund workflow.
Pro Tip: Most cloud POS platforms support bulk CSV import for product catalogs. If you have more than 50 items, use the import tool rather than entering products manually. Clean your spreadsheet first by removing duplicate SKUs, correcting price formatting, and standardizing category names.
Integration with accounting, inventory, and ecommerce platforms is worth configuring at this stage too. Connecting these systems reduces manual reconciliation and keeps your business data accurate across every tool you use.
What payment processing and security measures must be set up for a reliable POS system?
Payment processing is the core function of any POS system, and security is not optional. Every business that accepts card payments must meet specific standards to protect customer data.
Connecting your merchant account and payment processor
Your POS software must be linked to an active merchant account before you can process a single transaction. Merchantsolutionscorp provides credit card and ACH processing with dual pricing options that offset processing fees, which is a practical way to manage costs without raising prices across the board. Confirm that your processor supports all the payment methods your customers use, including chip cards, swipe, contactless NFC, and manual card entry for phone orders.
PCI DSS compliance and encryption
A POS system must comply with PCI DSS standards and use end-to-end encryption to protect customer payment data. PCI DSS (Payment Card Industry Data Security Standard) is the global security framework that governs how card data is stored, transmitted, and processed. Non-compliance exposes your business to fines and liability if a breach occurs. End-to-end encryption means card data is encrypted at the moment of swipe or tap and never travels through your network in readable form.
Security setup checklist
- Enable end-to-end encryption on all card readers
- Confirm PCI DSS compliance status with your payment processor
- Activate tokenization so stored card data is replaced with non-sensitive tokens
- Set up automatic data backups on a daily schedule
- Enable fraud prevention alerts for unusual transaction patterns
- Restrict physical access to terminals and cash drawers using role-based permissions
- Use hardware security modules if your processor supports them
- Review geolocation tracking settings to flag transactions from unexpected locations
Common payment processing pitfalls
Failing to test every payment method before launch is the most common mistake in this phase. Test every payment method including chip, swipe, contactless, and manual entry before going live. Each method must log correctly in your system and trigger a receipt. A payment that processes but does not record is worse than a declined transaction because it creates a gap in your books that is hard to find later.
For a deeper look at payment setup, Merchantsolutionscorp offers a dedicated payment processing setup guide that walks through merchant account configuration in plain language.
How to train your staff and test your POS system before going live
Staff training is the most underestimated phase of any POS implementation. Even advanced POS systems underperform without comprehensive staff training and clear operational workflows.
Staff training steps
-
Start with the basics. Walk every team member through opening and closing procedures, processing a standard sale, and applying discounts. Do this in person, not through a manual alone.
-
Train on exceptions. Failing to train staff on voids, refunds, and split payments is a primary cause of POS launch failures. Run each of these scenarios with every employee until they can complete them without help.
-
Cover tip handling and shift reports. Restaurants and service businesses need staff to understand tip adjustment workflows and how to close out a shift accurately. Errors here affect payroll and daily reconciliation.
-
Practice with real retail workflows. If you operate in retail, train staff on retail transaction workflows including exchanges, partial returns, and loyalty program redemptions. These scenarios come up daily and require confident handling.
-
Review permissions and access. Walk each employee through their own login and confirm they can only access the functions assigned to their role. A cashier should not be able to edit prices or delete transactions.
System testing before launch
Pro Tip: Run your full go-live test during a quiet period, not the day before a major sale or holiday rush. Use your POS system’s test mode to simulate real transactions, then switch to live mode and process one real transaction of $1.00 to confirm everything records correctly end to end.
Run through this checklist before your launch date:
- Process a test sale using every payment method you accept
- Verify that receipts print and send correctly
- Confirm inventory counts decrease after each test sale
- Test a refund and verify it posts to the correct account
- Check that employee permissions block unauthorized actions
- Verify that sales data syncs to your accounting or reporting software
- Confirm your backup system captured the day’s test data
Post-launch, assign one person to monitor the system daily for the first two weeks. Catching a configuration error on day three is far less costly than finding it after a month of transactions.
What are common challenges during POS setup and how to troubleshoot them?
Setup problems are normal. Knowing what causes them and how to fix them quickly keeps your launch on schedule.
Rushing setup because a system appears easy to use often results in overlooked issues like permission settings and data backups. The problems that surface weeks after launch are almost always traceable to steps that were skipped during initial configuration.
| Problem | Likely cause | Solution |
|---|---|---|
| Card reader not connecting | Driver not installed or Bluetooth pairing failed | Reinstall driver, re-pair device, check USB port |
| Inventory counts are wrong | Product data imported with errors or duplicates | Audit catalog, remove duplicates, reimport clean file |
| Payment authorization fails | Merchant account not fully activated | Contact processor to confirm account status and limits |
| Receipts not printing | Printer not set as default or paper jam | Set correct printer in software settings, clear jam |
| Staff locked out of functions | Permissions set too restrictively | Review role settings and adjust access by job function |
| Sales not syncing to accounting | Integration not authenticated | Re-authenticate API connection between POS and accounting tool |
Network issues cause a disproportionate share of POS problems. A wired Ethernet connection for your primary terminal eliminates most connectivity-related failures. Keep a backup router or mobile hotspot available for the first month of operation so a network outage does not stop sales.
Data import errors are the second most common issue. Using sandbox environments before going live is the standard recommendation to avoid disrupting real sales data. If you find errors after launch, correct them in the software first, then reconcile your reports manually for the affected period.
Key takeaways
A properly configured POS system, built on clean data, compliant payment processing, and trained staff, is the single most reliable way to prevent costly operational errors after launch.
| Point | Details |
|---|---|
| Hardware compatibility first | Confirm all hardware works with your software before purchasing any component. |
| Clean data before import | Audit your product catalog and remove duplicates before importing to avoid long-term reporting errors. |
| PCI DSS compliance is mandatory | Every business accepting card payments must meet PCI DSS standards and use end-to-end encryption. |
| Train on exceptions, not just basics | Staff must practice voids, refunds, and split payments before going live, not after. |
| Test every payment method | Verify that chip, swipe, NFC, and manual entry each log correctly and trigger receipts before launch. |
What I’ve learned from watching small businesses go live with POS systems
Most POS setup mistakes are not technical. They are organizational. The businesses that struggle after launch almost always rushed through the data preparation phase or skipped structured staff training in favor of “they’ll figure it out.”
The product catalog is where I see the most damage. A business imports 300 items with inconsistent naming, missing SKUs, and duplicate entries, then wonders why their inventory reports are useless three months later. Cleaning that data after the fact, while the system is live and processing real transactions, is genuinely painful. Doing it before import takes a few hours. Fixing it afterward takes weeks.
Staff training on exceptions matters more than training on standard sales. Every employee can figure out how to ring up a sale within an hour. What breaks down is the refund processed incorrectly, the void that never posts, the split payment that confuses the end-of-day report. Those are the scenarios that require deliberate practice, not assumption.
For businesses with more than one location or a complex menu and inventory structure, a staged rollout is the right call. Configure and test one location fully before touching the next. The lessons from location one will save you significant time at location two.
The businesses that go live smoothly share one trait: they treated setup as a project with defined phases, not a task to complete in an afternoon. Give it the time it deserves.
— Jonathan
How Merchantsolutionscorp supports your POS setup from day one
Merchantsolutionscorp provides complete POS and payment processing solutions for small businesses across retail, restaurant, and service industries in the US and Canada. The platform covers hardware, software, and merchant account setup with $0 upfront hardware options and dual pricing to manage processing costs. Businesses get fully configured equipment, industry-specific POS options including Clover and mobile terminals, and direct support from onboarding through daily operations. For owners who want to review their full range of POS system options before committing, Merchantsolutionscorp makes it straightforward to compare and apply in one place.
FAQ
What does a POS system include for a small business?
A POS system includes a terminal or tablet, card reader, receipt printer, cash drawer, and POS software connected to a merchant account. Together, these components process transactions, track inventory, and generate sales reports.
How long does a small business POS setup take?
A basic single-location setup typically takes one to three days, covering hardware installation, software configuration, product catalog import, and staff training. Complex setups with multiple locations or large catalogs take longer.
What is PCI DSS and why does it matter for my POS?
PCI DSS is the Payment Card Industry Data Security Standard, the global framework that governs how businesses handle card payment data. Compliance is required for any business that accepts credit or debit cards, and non-compliance can result in fines and liability after a data breach.
Do I need a separate merchant account for my POS system?
Yes. A merchant account is the business bank account that receives card payment funds before they transfer to your main account. Your POS software connects to this account through a payment processor to authorize and settle transactions.
What should I test before going live with my POS system?
Test every payment method, verify that receipts print and send correctly, confirm inventory updates after each sale, process a test refund, and check that employee permissions block unauthorized actions. Run all tests in a sandbox environment first, then confirm with one live transaction before full launch.