Step by Step Setup for a POS System: 2026 Guide
Step by Step Setup for a POS System: 2026 Guide
A step by step setup for a POS system gives business owners a clear path from unboxed hardware to processed transactions, often within a single business day. Point of sale (POS) installation is the industry term for this process, covering everything from connecting a receipt printer to configuring tax rates and employee permissions. Whether you run a restaurant using Toast POS, a retail shop on Square, a dental office, a gas station, or a salon, the core setup sequence stays the same. Before you begin, gather five to six mandatory components: your hardware, a stable internet connection, merchant account credentials, your product or service catalog, and your business tax and bank information. Getting these ready before you start prevents delays mid-installation.
What hardware do you need and how to install it step by step
The foundation of any POS installation is physical hardware. Get this right first, and the software configuration becomes much easier.
Core hardware components
Every POS setup requires a specific set of devices working together. Missing one piece creates gaps in your workflow from day one.
- Terminal or tablet: This is your main interface. iPad-based systems like Square run on iOS. Android tablets work with platforms like Clover. Desktop terminals suit high-volume environments like grocery stores.
- Card reader: Accepts credit, debit, and NFC payments. Card readers connect via USB, Bluetooth, or Wi-Fi depending on the model.
- Receipt printer: Thermal printers are standard. Most connect via USB or Ethernet to the terminal.
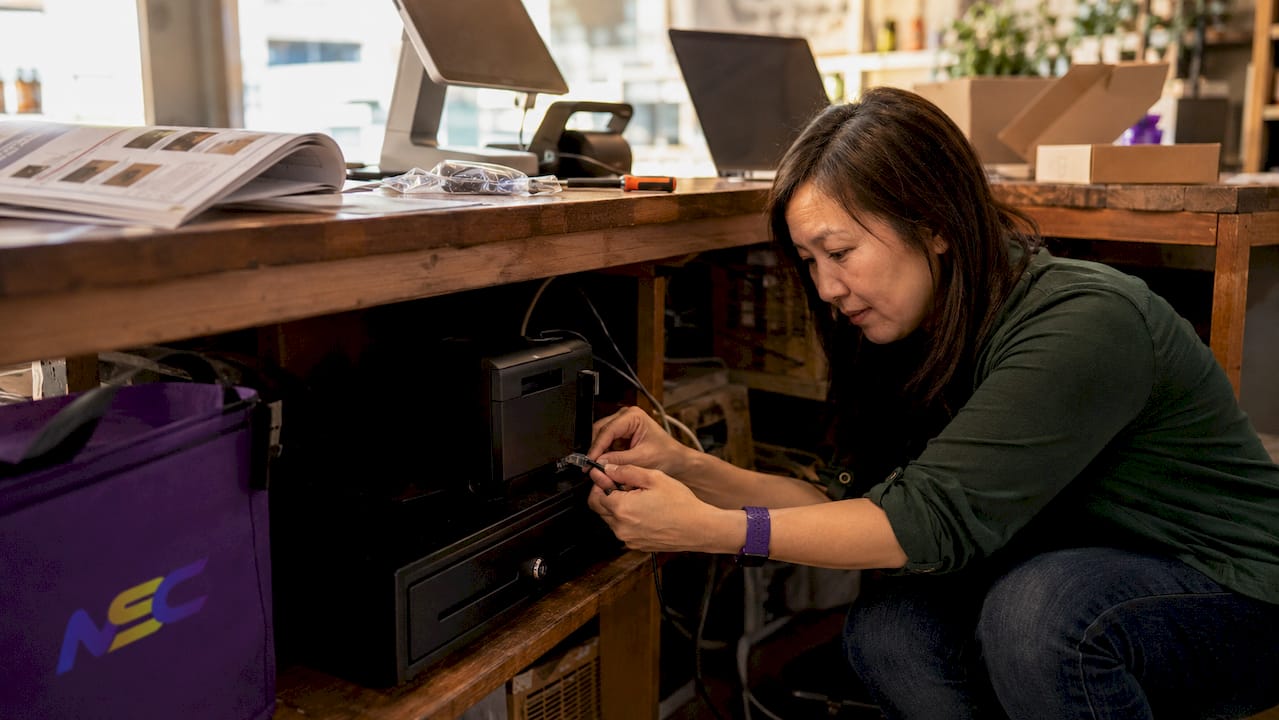
- Cash drawer: Connects to the receipt printer using an RJ12 cable. The printer sends a signal to open the drawer after each cash transaction.
- Barcode scanner: Required for retail, grocery, and convenience store setups. Connects via USB or Bluetooth.
You can find pre-matched Square POS hardware kits that bundle these components together, which reduces compatibility issues.
Connecting and powering your hardware
Start by placing your terminal in a fixed position with clear sightlines to the customer. Run your Ethernet cable from the router directly to the terminal for the most stable connection. Wi-Fi works for mobile setups like salons or food trucks, but wired connections reduce dropout risk during peak hours.
Connect your receipt printer to the terminal via USB or Ethernet. Then plug the RJ12 cable from the printer’s cash drawer port into the cash drawer. Power on each device in sequence: router first, then terminal, then printer, then cash drawer. Confirm that the terminal recognizes each peripheral before moving to software.
Pro Tip: Label every cable at both ends before routing them under counters. A 10-minute labeling job saves hours of troubleshooting when a device stops responding six months later.
How to configure your POS software and create user accounts
With hardware connected, software configuration is your next step. This phase determines how your system behaves every day.
Installing and logging in
Download the POS app from the App Store, Google Play, or the vendor’s website depending on your platform. Square, Clover, and Toast each have dedicated apps for iOS, Android, and desktop. Log in with your existing account credentials or create a new account during setup. Cloud-based platforms store your data remotely, which means you can access your dashboard from any device.
Check for software updates immediately after logging in. Running an outdated version during setup can cause sync errors with hardware or payment terminals.
Entering your business details
Your POS software needs accurate business information to process payments legally and generate correct reports. Enter the following during initial configuration:
- Legal business name and address: Used on receipts and tax documents.
- Tax ID or EIN: Required for merchant account verification.
- Bank account details: Needed for payment deposits.
- Tax rates: Set these by location. A gas station in Texas has different tax rules than a hotel in California.
- Tip settings: Relevant for restaurants, salons, and hospitality businesses. Configure tip prompts on the customer-facing screen.
Setting up user roles and permissions
Adding employees in POS includes assigning roles and managing permissions for security and operational control. A cashier should not have access to refund reports or end-of-day reconciliation. A manager needs override capabilities. Most platforms offer preset role templates you can customize.
Pro Tip: Create a test employee account and walk through a full transaction before granting access to your actual staff. You will catch permission gaps before they cause problems on a busy shift.
How to build your product catalog and organize inventory tracking
Your product catalog is the operational core of your POS system. Errors here cascade into incorrect pricing, failed inventory counts, and inaccurate sales reports.
Why catalog accuracy matters
Accurate product data underpins inventory tracking and sales. A single mistyped price or missing barcode creates discrepancies that compound over time. For grocers, this means checkout errors. For dental offices doing a step by step dental pos setup, it means billing the wrong procedure code. For hotels, it means charging the wrong room rate.
Two methods to add products
- Manual entry: Best for businesses with fewer than 50 products or services. Enter each item’s name, description, price, SKU or barcode, and any variants (size, color, flavor). Assign each item to a category.
- Bulk import via spreadsheet: Best for retail stores, grocers, and gas stations with large inventories. Most platforms accept a CSV file with predefined column headers. Download the vendor’s template, fill it in, and upload. Square, Clover, and Exatouch all support bulk import.
For a detailed walkthrough of menu-based catalog setup, Merchantsolutionscorp provides a step-by-step menu install guide specifically for Square POS users.
Organizing categories and inventory parameters
| Business type | Category examples | Key inventory fields |
|---|---|---|
| Retail / boutique | Tops, bottoms, accessories | SKU, size, color, reorder point |
| Grocery / convenience | Beverages, snacks, produce | Barcode, unit cost, stock count |
| Restaurant | Appetizers, mains, drinks | Modifiers, portion size, recipe cost |
| Salon | Services, retail products | Service duration, product volume |
| Hotel | Room types, amenities, F&B | Room number, rate plan, add-ons |
Set reorder points for physical inventory items. When stock drops below that threshold, your POS generates a low-stock alert. This is especially critical for a step by step pos setup for grocers or a step by step gas station pos setup, where high-volume items turn over daily.
How to connect payment processing, integrate apps, and test the system
Payment processing is where your POS setup becomes a revenue tool. This step requires precision because errors here directly affect your ability to collect money.
Configuring your payment processing account
Connecting payment processing requires entering your merchant account details and pairing your payment terminal correctly. Log into your POS dashboard and navigate to the payment settings section. Enter your merchant ID, processing credentials, and terminal serial number. For businesses using Merchantsolutionscorp, your merchant account details are provided during onboarding, along with pre-configured hardware where applicable.
Enable the payment types your customers use: credit cards, debit cards, NFC (contactless), and ACH if relevant. Dual pricing settings, which display a cash price and a card price separately, are configured here as well.
Integrating third-party apps
Most POS platforms connect to external tools through an app marketplace. Common integrations include:
- Accounting software: QuickBooks and Xero sync daily sales data automatically.
- CRM and loyalty programs: Platforms like Mailchimp or built-in loyalty modules track repeat customers.
- Online ordering: For restaurants and grocers, connecting your POS to an online ordering platform keeps inventory and pricing in sync.
- Payroll: Some platforms push hours and tips directly to payroll processors.
For hotel setups, a step by step hotel pos setup often requires integration with a property management system (PMS) like Oracle OPERA or Cloudbeds. Confirm API compatibility before committing to a POS platform.
Running test transactions
Testing via live transaction simulation is the most reliable way to verify that all components and software function as expected. Run at least three test transactions before going live:
- A standard card payment using your card reader.
- A cash transaction that triggers the cash drawer.
- A refund to confirm the refund workflow and permissions.
Check that receipts print correctly, that the cash drawer opens on cue, and that the transaction appears in your dashboard reports. If any step fails, isolate the component and recheck its connection and settings.
Pro Tip: Use a real card for test transactions rather than a simulator. Some hardware issues only surface with actual card data flowing through the terminal.
Best practices to finalize setup and train staff effectively
A configured system is not a ready system. The final phase prepares your team and validates every setting before customers arrive.
Final pre-launch checklist
Work through this list before your first live transaction:
- Confirm all hardware is powered, connected, and recognized by the terminal.
- Verify tax rates match your local requirements.
- Check that all product prices and barcodes are correct.
- Confirm payment processing credentials are active and tested.
- Review user roles and confirm each employee has the correct access level.
- Test the end-of-day close process, including cash reconciliation.
- Confirm receipt branding (logo, address, return policy) is set correctly.
Training your staff
Structured training resources reduce errors and maximize return on your POS investment. Most major platforms, including Square and Clover, provide video tutorials, knowledge bases, and live chat support. Use these before your launch date, not after.
Run a mock service session with your team. Simulate a full customer interaction from item selection to payment to receipt. Identify where staff hesitate or make errors. Adjust your training focus accordingly.
Create a one-page quick reference guide for each station. Include the steps for opening, processing a return, applying a discount, and closing out. Post it where staff can see it without leaving the register.
Rolling out with minimal disruption
For businesses upgrading from an older system, run both systems in parallel for two to three days. This gives staff a safety net and lets you catch data sync issues before fully cutting over. For new businesses, a soft launch with a limited menu or product selection reduces the risk of errors during your first week.
Collect feedback from staff after the first three days. They will identify friction points that no checklist catches.
Key takeaways
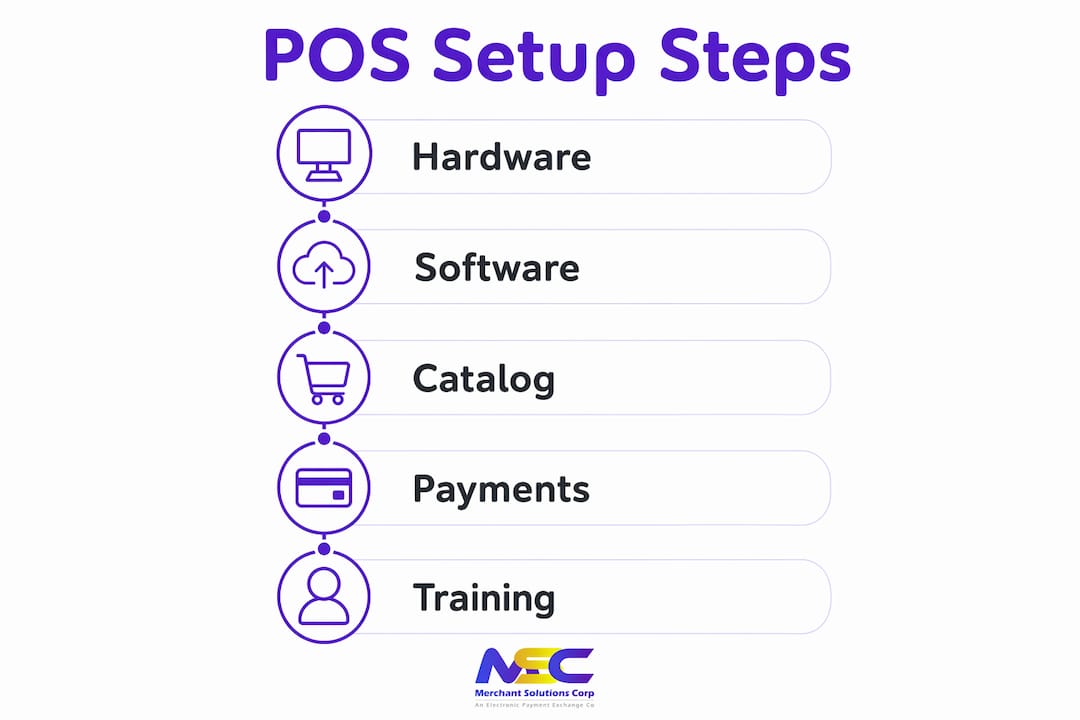
A successful POS system installation requires completing hardware setup, software configuration, catalog building, payment integration, and staff training in sequence before accepting your first live transaction.
| Point | Details |
|---|---|
| Prepare before you install | Gather merchant credentials, bank info, tax rates, and your product catalog before touching hardware. |
| Wire your network connection | Use Ethernet over Wi-Fi for your terminal to prevent dropouts during peak transaction periods. |
| Build an accurate product catalog | Catalog errors cascade into inventory and sales report discrepancies that are difficult to correct later. |
| Test before going live | Run at least three test transactions covering card payment, cash, and refund workflows before launch. |
| Train staff with real scenarios | Mock service sessions and quick reference guides reduce errors faster than video tutorials alone. |
What I have learned from watching businesses go live on a new POS
Most POS setup problems I have seen do not happen during installation. They happen in the two weeks before it, when business owners skip the workflow documentation step.
Before you configure a single setting, write down how a transaction actually moves through your business. For a salon doing a step by step pos setup for salons, that means mapping the booking confirmation, service delivery, product upsell, payment, and tip prompt in sequence. For a grocer, it means mapping how a cashier handles a price override or a WIC transaction. Business workflow mapping prior to setup is the single most overlooked step in POS installation, and it is the one that prevents the most expensive mistakes.
Two things consistently get skipped: refund policy configuration and daily reconciliation setup. A refund policy that is not entered into the POS creates inconsistent customer experiences and accounting gaps. A reconciliation process that is not tested before launch means your first end-of-day close will take three times as long as it should.
Involve at least one frontline staff member in your testing phase. They will find workflow gaps that managers miss because they interact with the system differently. The best POS setups I have seen treat the testing phase as a collaboration, not a sign-off.
Finally, choose a platform that lets you add features without replacing hardware. Your business will change. Your POS should change with it, not force a full reinstall when you add a new service or location.
— Jonathan
How Merchantsolutionscorp supports your POS setup from day one
Merchantsolutionscorp works with restaurants, retailers, salons, gas stations, and specialty businesses across the US and Canada to configure and deploy POS systems that fit their specific workflows. The company offers payment processing solutions that include pre-configured hardware, $0 upfront equipment options, and dual pricing to offset card processing fees. Their team handles merchant account setup, terminal pairing, and onboarding support so you are not troubleshooting alone on launch day. For businesses that need a full POS system overview before committing to a platform, Merchantsolutionscorp provides consultation to match your operation to the right hardware and software combination.
FAQ
How long does a full POS system setup take?
Most small businesses complete POS setup from hardware unboxing to first transaction within one business day when using cloud-based software and pre-configured hardware.
What do I need before starting a POS installation?
You need five to six core components: your hardware, a stable internet connection, merchant account credentials, your product or service catalog, and your business tax and bank information.
How do I connect a cash drawer to a POS system?
Receipt printers connect to cash drawers via an RJ12 cable. The printer sends an electronic signal to open the drawer after each cash transaction is completed.
Can I set up a POS system without technical experience?
Yes. Cloud-based platforms like Square and Clover are designed for self-installation, with guided setup wizards, video tutorials, and live support available throughout the process.
What should I test before going live with a new POS?
Run at least three test transactions covering a card payment, a cash transaction with cash drawer trigger, and a refund. Confirm receipts print correctly and that all results appear in your reporting dashboard.